Chirashi Sushi Bowl
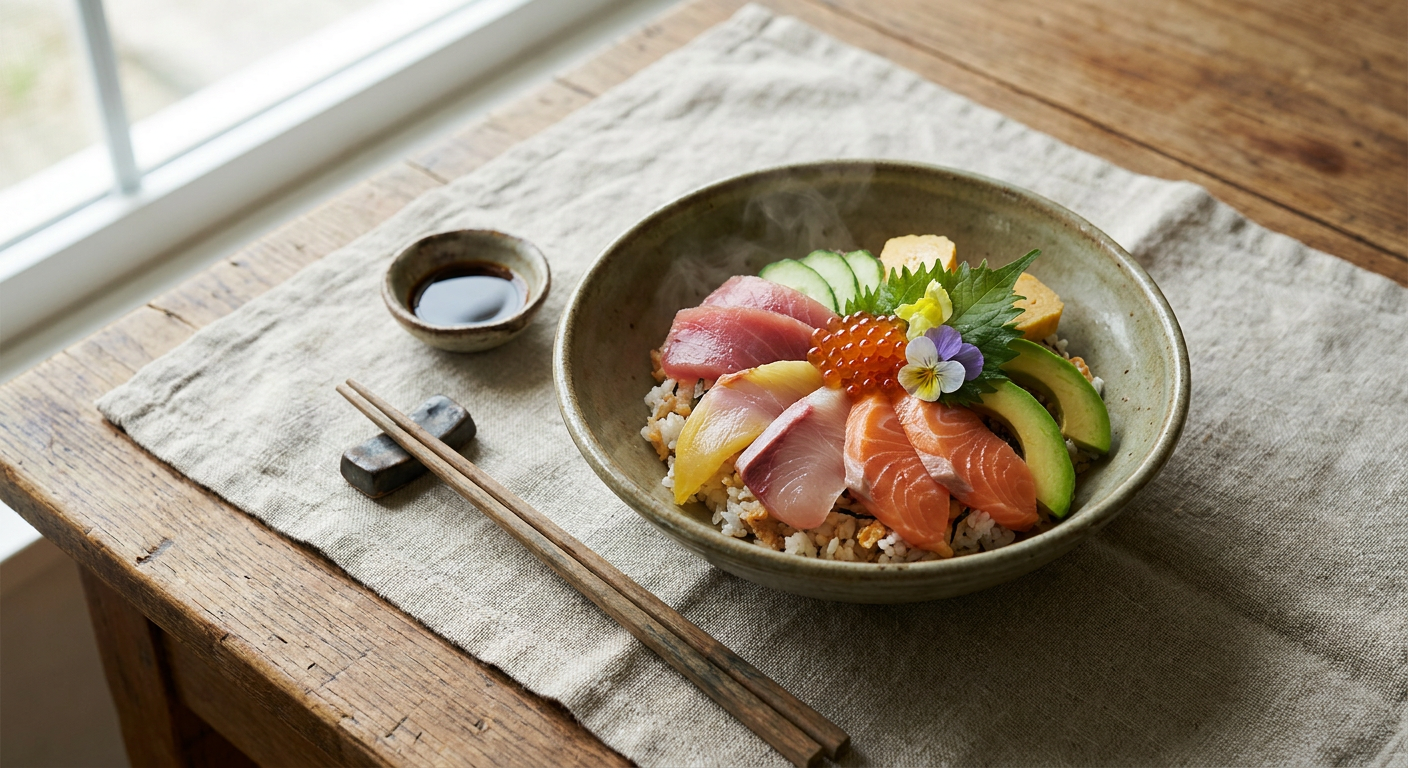
Quantities live in the recipe card.
The sushi rice
- warmed together until dissolved
The scatter (for 2 bowls)
The quick tamagoyaki
- cooked in a thin omelette and sliced
On the table
Doneness & Quality Checkpoints
- The rice: glossy, separate, vinegared, just above body temperature.
- The fish: dry-surfaced, clean-cut, sushi-grade.
- The bowl: rice visible between toppings, zones not pavement.
Chirashi Sushi Bowl
Prep: 40 minutes · Cook: 20 minutes · Total: About 1 hour, plus rice cooling · Serves 2
Ingredients
The sushi rice
- 300 g Japanese short-grain rice, rinsed until the water runs clear (3–4 changes)
- 330 ml water
- 4 tbsp rice vinegar, 2 tbsp sugar, 1 tsp salt — warmed together until dissolved
The scatter (for 2 bowls)
- 150 g sashimi-grade salmon, cut into 1.5 cm strips
- 100 g sashimi-grade tuna, cut into 1.5 cm strips
- 3 cooked shrimp (about 60 g), halved lengthwise (optional)
- 2 tbsp ikura (salmon roe) if available
- 1 piece tamagoyaki (sweet omelette, below) or 2 eggs' worth of soft scrambled
- Cucumber slices, shiso or perilla leaves, pickled ginger
- 1 sheet nori, cut into thin strips; 10 g sesame seeds
The quick tamagoyaki
- 2 eggs, 1 tsp sugar, ½ tsp soy, ½ tsp mirin — cooked in a thin omelette and sliced
On the table
- Soy sauce (preferably one labeled for sashimi), wasabi
Instructions
- **Cook and season the rice.** Cook the rinsed rice with its measured water (rice cooker or heavy lidded pot, lowest heat after the boil, 12–13 minutes, then 10 minutes rest, lid untouched). Turn the hot rice — fresh from its 90 °C-plus rest — into a wide bowl, sprinkle the vinegar mixture over the spatula's back so it falls in droplets, and cut through the rice at an angle — folding, not stirring — while fanning it (a magazine works) until it cools to just above body temperature and turns glossy. Checkpoint — each grain should be glossy, separate, and slightly tacky — sticky enough to clump when pressed, not gummy. Fanning sounds like theater and is not: the fast cooling sets the surface starch so the rice shines instead of pasting. Taste: the rice alone should be pleasantly vinegared, a touch sweeter than feels finished.
- **Cut and compose the scatter.** Cut the fish against the grain into strips that fit a chopstick's lift. Slice the tamagoyaki. Cut the cucumber on a steep bias. Everything should be bite-sized or close — chirashi is arranged abundance, not a chopping performance. Checkpoint — dry the fish surfaces on paper towel before they touch the rice — wet fish waters down the seasoning. The fish should look matte and clean-cut, not glassy.
- **Build the bowls.** Warm-cool rice (body temperature, not fridge-cold — cold rice hardens and dulls the vinegar) loosely spread in each bowl. Shiso leaves tucked at one side, then the fish arranged in loose, overlapping groups by type — salmon in one zone, tuna in another, shrimp and egg each with their own territory. Ikura pooled in a spoon-shaped well, cucumber and ginger filling gaps, nori strips and sesame last. Checkpoint — the bowl should look generously scattered, not paved: you should see rice between the toppings. Each zone seasoned with a sesame pinch. Soy sauce and wasabi go on the table, not into the bowl — each bite is dipped or dabbed at the diner's pace.
Finish & Plate
Serve immediately with soy sauce and wasabi alongside. A bowl of miso soup makes it a meal; nothing else should compete. Eat within 30 minutes — the rice's surface dulls and the fish dries as the bowl sits.
Troubleshooting
| Symptom | Cause | Fix |
|---|---|---|
| Rice mushy or pasted | Stirred instead of cut; over-watered | 330 ml water per 300 g rice; cut and fold with fanning |
| Rice hard and dull | Cooked cold, seasoned cold | Season while hot, serve at body temperature |
| Fish sticking to the board | Wet surface, dull knife | Pat dry; use your sharpest knife, long draws |
Storage, Make-Ahead & Variations
- Sushi-grade fish keeps 1 day in the coldest part of the fridge, on ice if possible; seasoned rice keeps 1 day covered at room temperature, revived with a brief steam. Once assembled, eat now. - Variations rotate the scatter by season: cooked chirashi with eel (see #10's unadon sauce), vegetables-only chirashi with lotus root and shiitake, or a scattered version of the week's leftovers over vinegared rice — the format is forgiving; the rice is the constant.