Onigiri Trio
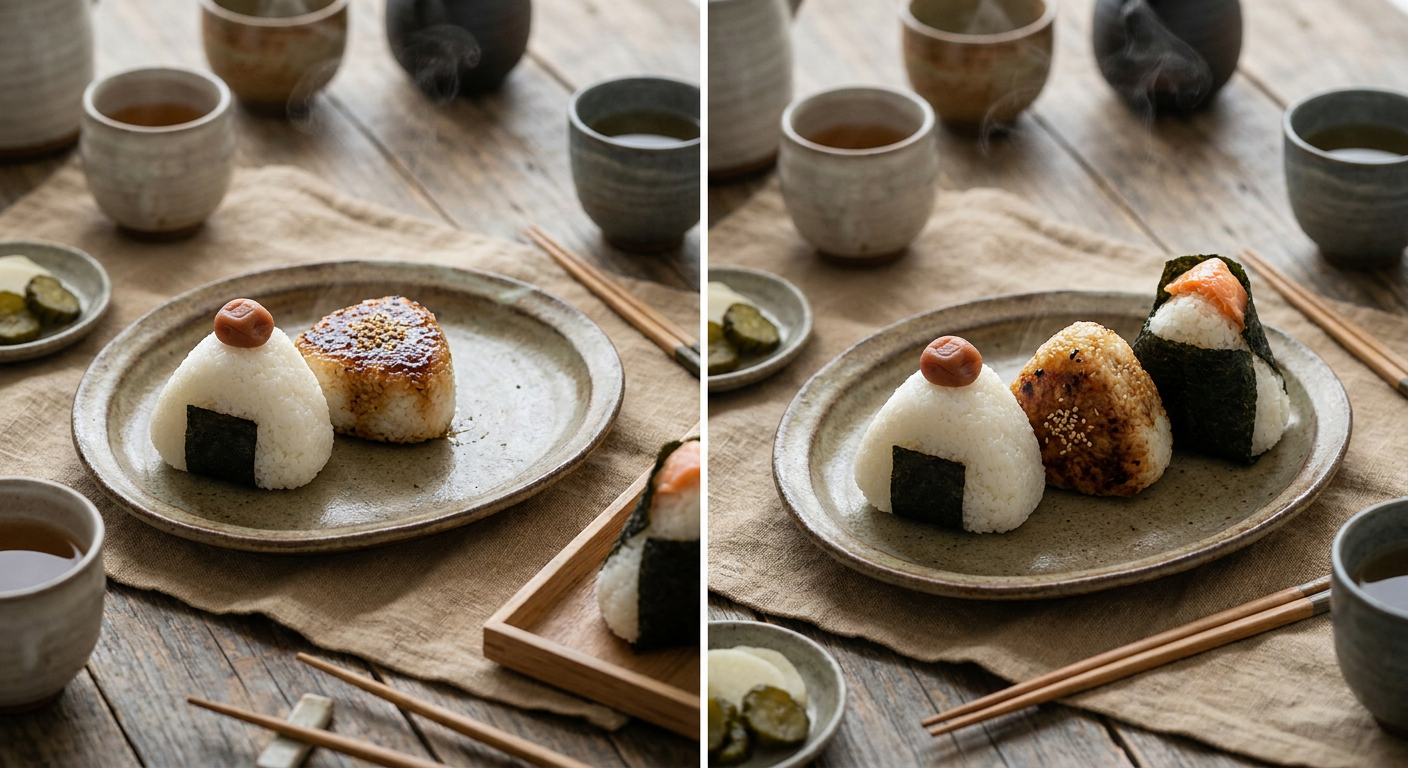
Onigiri — the rice ball in its crisp nori jacket — is Japan's packed lunch and its most-loved food shape. The trio here is the classic three fillings: salted salmon, umeboshi (pickled plum), and tuna-mayo. The technique is all in the hands: hot rice, wet palms, a firm-but-gentle press that makes the grains cling without crushing.
Quantities live in the recipe card.
The rice
- the seasoning tool)
Filling 1: Salted salmon
Filling 2: Umeboshi
Filling 3: Tuna-mayo
The jackets
- **Rice hot, hands wet.** Shape onigiri while the rice is still hot — uncomfortable is correct (a quick cold-water rinse first, then wet-salted hands). Cold rice will not cling. The salt water on your palms is the only seasoning on the outside.
- **The bridge:** umeboshi are the hard-to-find one — any Japanese grocery carries them, and they keep forever. Skip and make it a duo rather than substituting; their sour-salty punch has no real stand-in, and the trio's balance wants one sharp note.
Onigiri Trio
Prep: 30 minutes · Cook: 20 minutes (rice) · Total: About 50 minutes · Makes 6 onigiri
Ingredients
The rice
- 400 g Japanese short-grain rice, rinsed and cooked with 440 ml water
- 1 tsp salt, dissolved in a small bowl of warm water (for your hands — the seasoning tool)
Filling 1: Salted salmon
- 200 g salmon fillet, salted 30 minutes, broiled 8–10 minutes at 200 °C, flaked, pin bones removed
Filling 2: Umeboshi
- 3 umeboshi (pickled plums), pitted, halved
Filling 3: Tuna-mayo
- 1 can (150 g) tuna, drained; 2 tbsp Japanese mayonnaise (about 30 g), ½ tsp soy sauce
The jackets
- 3 sheets nori, each cut into 3 strips; a sprinkle of sesame seeds or furikake, optional
Instructions
- **Portion and fill.** With wet, salted hands, scoop about 80 g of hot rice into one palm. Press a well in the center with two fingers, drop in a teaspoon of filling (a flake of salmon, half an umeboshi, a small spoon of tuna-mayo), and fold the rice over to enclose it. Checkpoint — the filling must be fully enclosed — exposed filling at the seams leaks and dries. Less filling than feels right is correct: onigiri is rice first, filling as accent.
- **Shape: triangle, firm, gentle.** Press the ball between your cupped palms into a triangle — three flat faces, rounded edges — rotating and pressing about six times total. The pressure is a handshake, not a squeeze: the grains should knit (it holds its shape when lifted) but stay distinct (the interior stays fluffy, not dense). Checkpoint — a well-shaped onigiri looks hand-made with faint finger planes on its faces. Cut one open: the cross-section should show distinct grains, not a compressed block. If it holds like a brick, you pressed too hard.
- **Wrap and rest.** Wrap a strip of nori around the base, shiny side out, like a band. If eating immediately, wrap now; if packing for later, wrap the rice in plastic and add the nori at eating time (it stays crisp). Checkpoint — eating test: the nori should crackle when bitten, the rice tastes faintly salted from your palms, and the center bite hits the filling with a small jolt — salmon's richness, plum's sour snap, or tuna-mayo's cream. Each triangle should be two or three bites.
Troubleshooting
| Symptom | Cause | Fix |
|---|---|---|
| Rice balls crumble | Rice cold, hands dry | Reshape hot; keep hands wet and salted |
| Rice dense, gluey | Over-pressed or over-washed rice | A handshake press; rinse rice 3 changes, not 10 |
| Nori soggy by lunch | Wrapped hours early | Wrap at eating time; carry the strips separately |
Storage, Make-Ahead & Variations
- Best eaten the day made, wrapped in plastic at room temperature (never refrigerate — the rice hardens). Fillings keep 2–3 days separately. - Variations: grilled onigiri (yaki onigiri) brushed with soy and toasted until crisp; seasonal fillings from leftover chirashi fish (#6) to a spoon of the khao soi chicken (#2). The fusion direction — a tuna-mayo onigiri with a slice of avocado inside a full nori wrap — is essentially a hand roll in triangle clothing.